
|
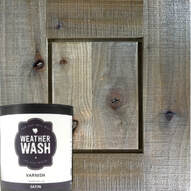
Weatherwash VARNISHES are super simple to apply! You can use a good quality brush, sponge brush or a spray gun. Varnishes are perfect for high use areas in the home, cabinetry, furniture & millwork. |
BRUSH MATERIALS
BRUSH PrepARATIONProfessional mix or stir Varnish for 60 seconds. *Make sure to re-incorporate all materials that may have settled to the bottom of the can.
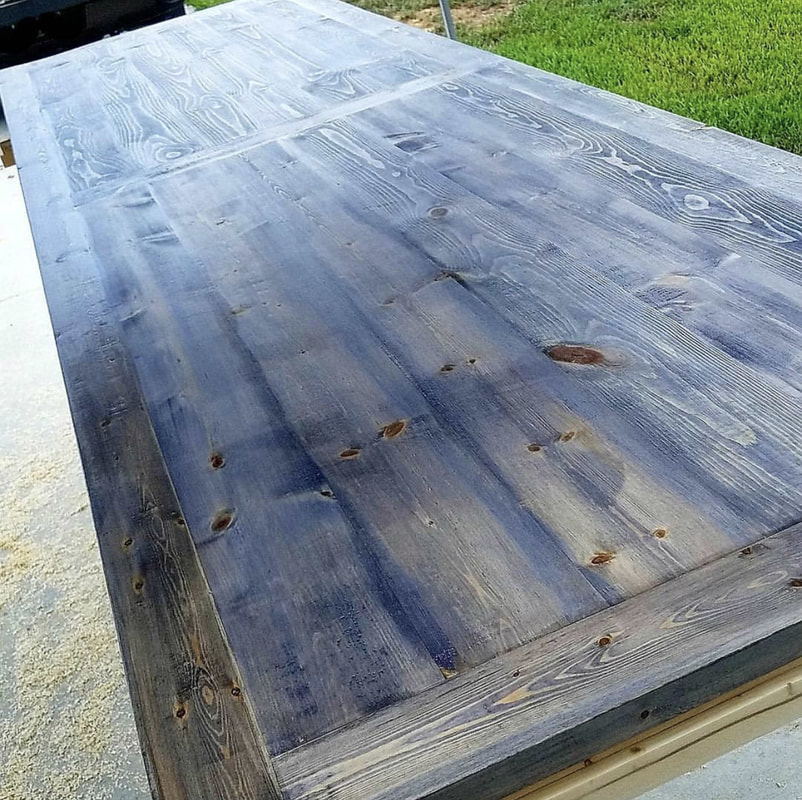
Use a good quality brush or a stiff sponge brush to apply varnish. Sponge brush is preferred. APPLICATIONApply Varnish in the direction of the wood grain (follow the stripes in the wood).
DRY TIMEDry to touch 60 minutes. Allow the varnish to dry between coats,
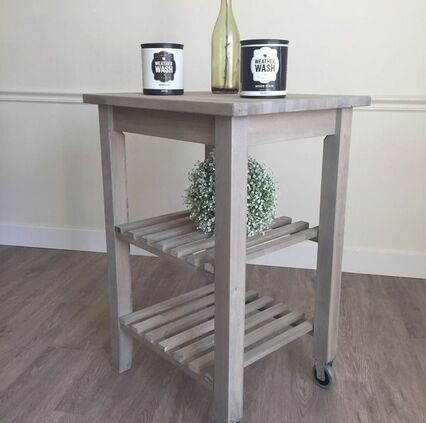
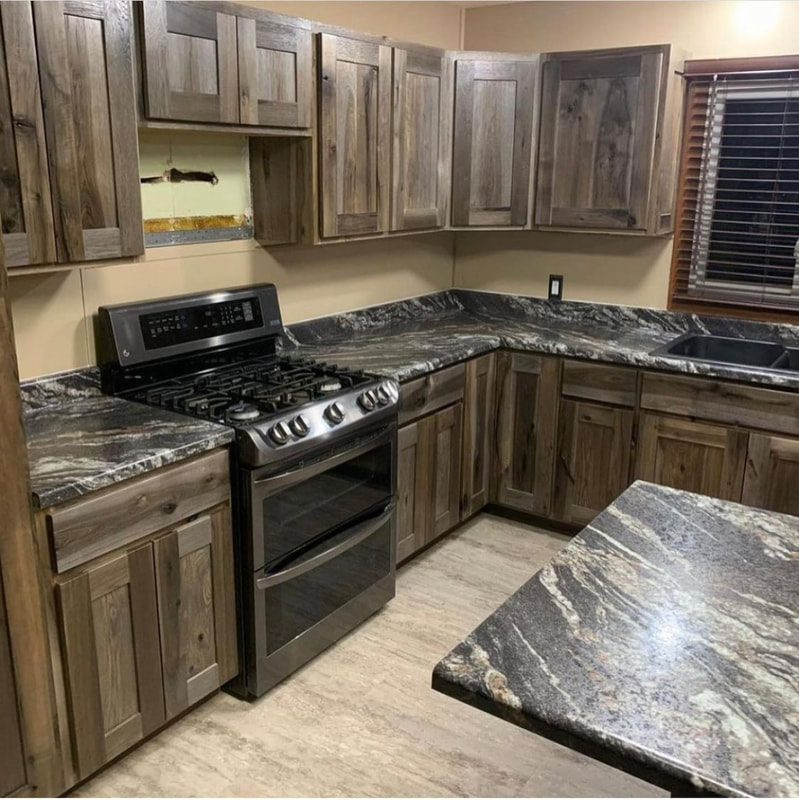
RE-COATApply 2-4 coats for superior protection on any high-use areas in home, like table, cabinetry, millwork, etc.
Best to apply second coat between 60 -240 minutes of first coat or after 24 hours. CLEAN UPEasy soap and water clean up.
|
SPRAY MATERIALS
SPRAY PREPARATIONProfessional mix or stir Varnish for 60 seconds. *Make sure to re-incorporate all materials that may have settled to the bottom of the can.
Thin varnish up to 10% with water prior using in a sprayer. Now product is suitable for spraying. APPLICATIONLoad diluted product into spray gun. Apply using broad sweeping motion and overlapping streams.
|
CARE
Do not clean furniture until the finish has cured completely. Varnish cure time guideline: 30 days. After your finish has cured, clean items with warm water and lint free rag. If needed, add a small dot of dish soap or a dash of vinegar. As a fine furniture finish care is important, be sure to use coasters, mats and trivets. Wipe spills immediately and only use a water damp microfiber cloth and mild dishsoap to clean.
Avoid using any oil-soaps or silicone-based daily cleaners or dusting sprays. These products and the chemicals in other cleaners can contaminate your finish and can prevent adhesion of future finishes.
Avoid using any oil-soaps or silicone-based daily cleaners or dusting sprays. These products and the chemicals in other cleaners can contaminate your finish and can prevent adhesion of future finishes.


WATCH FOR YOURSELF HOW EASY WEATHERWASH PRODUCTS ARE TO USE!
DOWNLOAD VARNISH APPLICATION GUIDE
| WEATHERWASH VARNISH |